Fingerprint Jewelry
by Brigette Garcia / photos by Erin Treadway
Fingerprints are completely unique to each person. They create a unique pattern and are a contemporary way to keep someone close to your heart. In recent years precious metal fingerprint jewelry has become really popular. They make great gifts for friends, family and loved ones!
Make an impression with a precious metal fingerprint charm. Here’s how…
Retail
Purchase a precious metal fingerprint kit at Tryst. Make your impression at home and return it to Tryst. They will do the rest. Your completed charm will be ready to pick up in 5 to 7 days.
Take A Class
Not feeling confident in your DIY skills? Sign up for a fingerprint jewelry workshop at MADE Studio. They provide all the materials, tools and know how. You just show up for the fun!
DIY
A list of materials and step by step instructions are below.
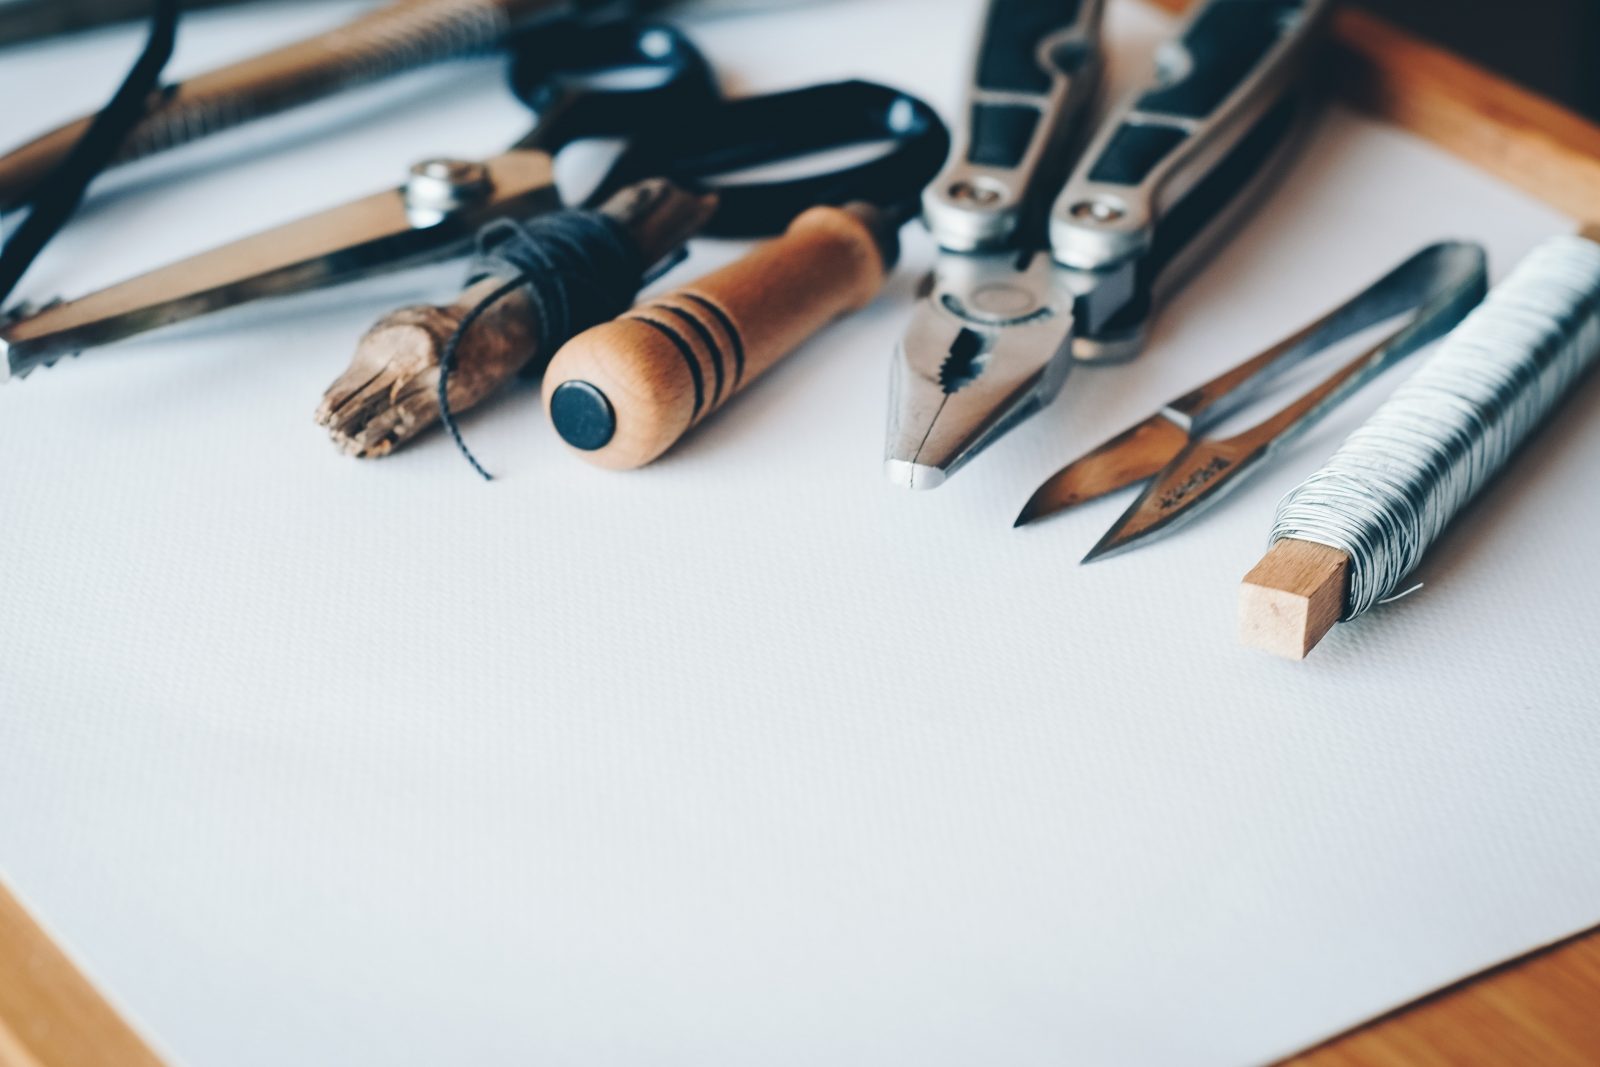
What you will need:
- PMC3
- Butane Torch
- Charcoal Block
- Plastic Rolling Pin
- Clay Cutters
- Sanding Boards (we used a fingernail file)
- Tweezers
- Brass Brush
- Polishing Cloth
- Finger!
Step by Step Instructions:
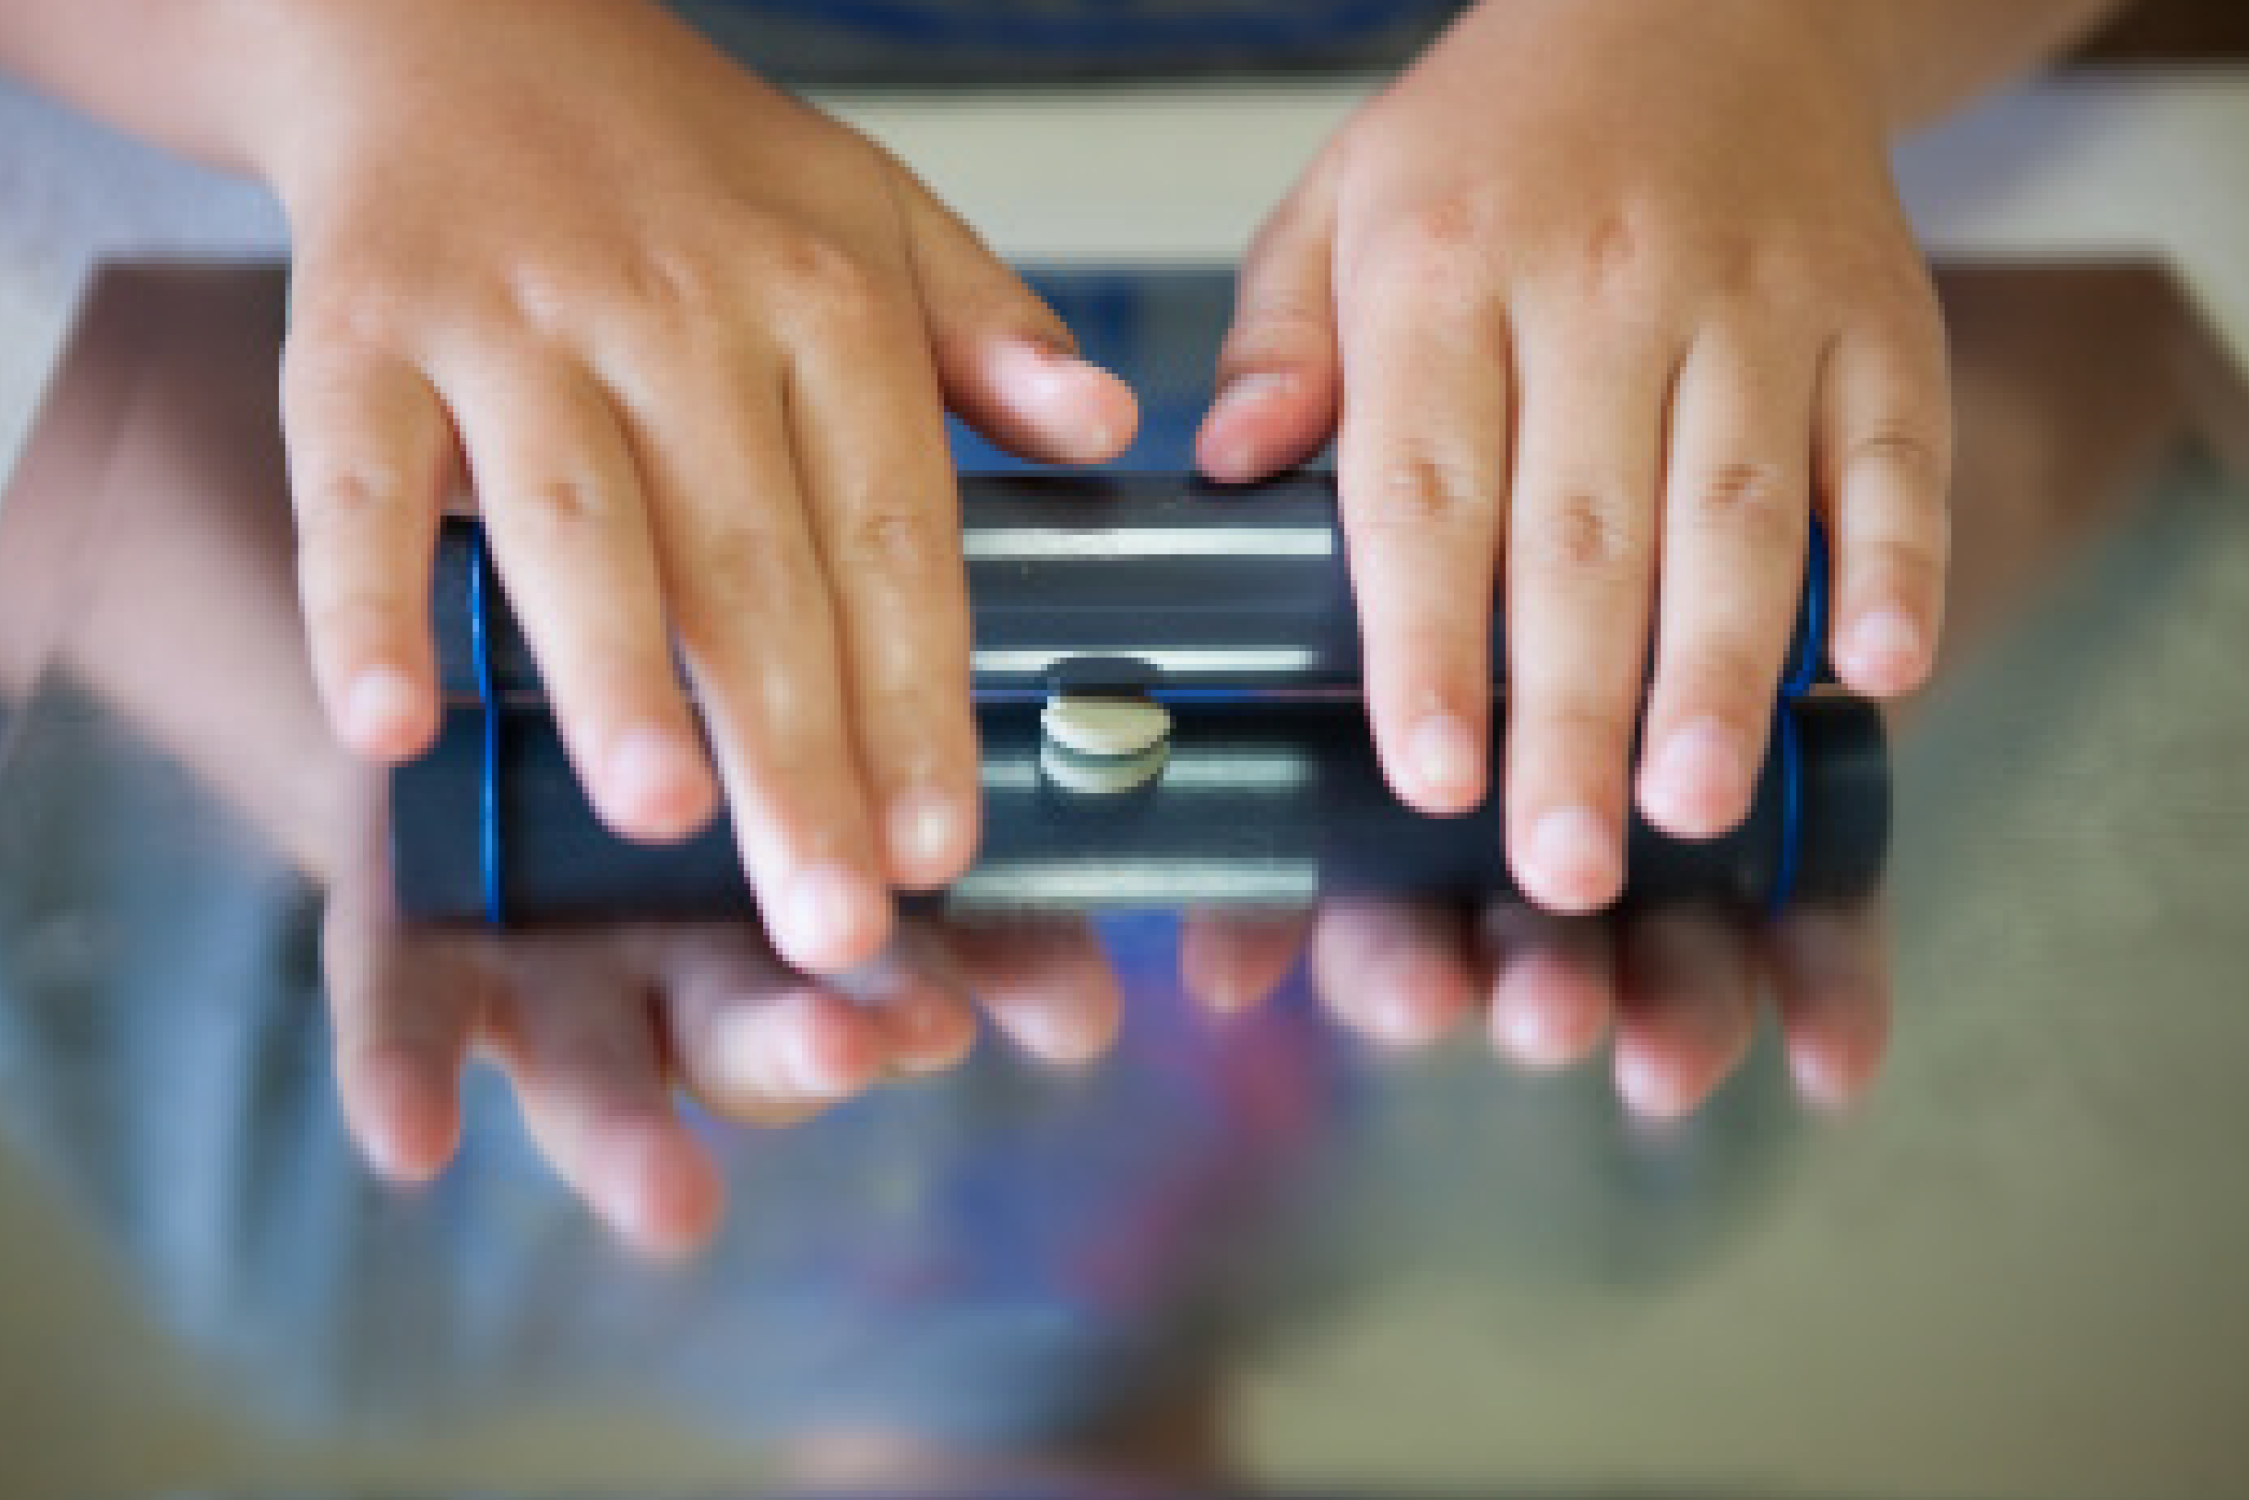
1) Find a flat surface without any grain or texture. I often use a mirror. Lightly coat your work surface, rolling pin and hands with olive oil. Roll out a small piece of PMC3 using the plastic rolling pin. Use a pack of playing cards to roll out your piece evenly. Stack a pile of cards to your desired thickness on both sides of your clay. I recommend using a 4 to 7 card thickness.
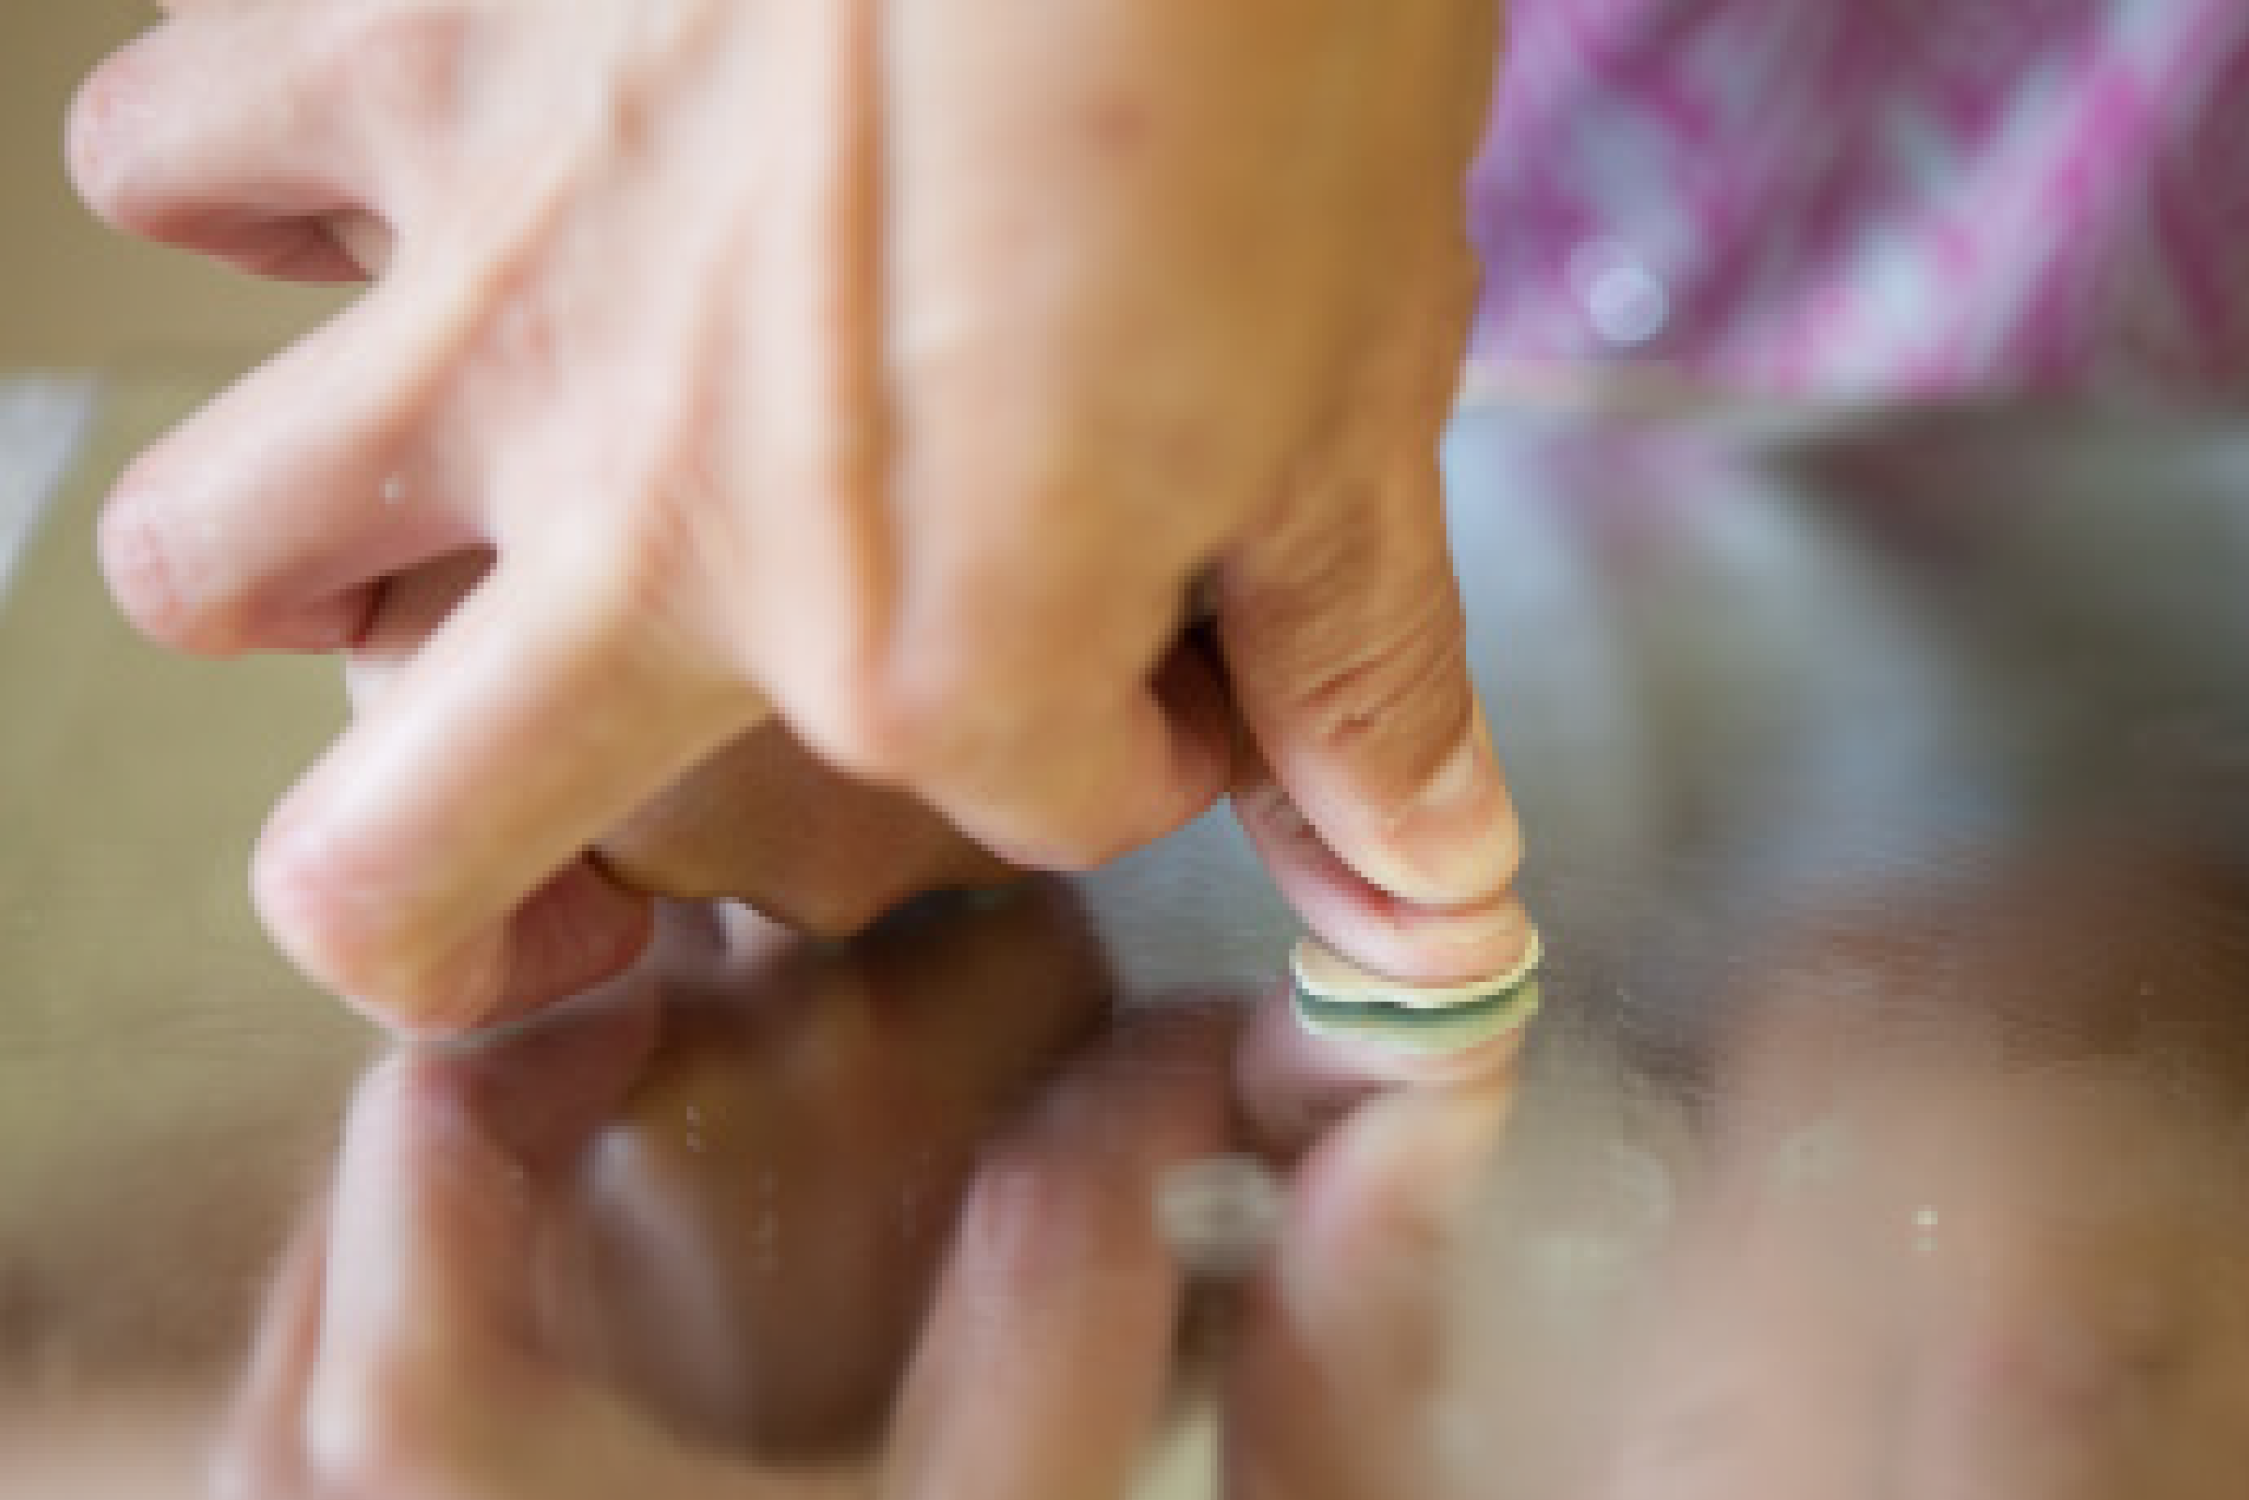
2) When you are ready to add your fingerprint ensure that the finger is clean. Gently push your finger or the participant’s finger into the clay. Slowly rock side to side to ensure the entire fingerprint is taken. Check to see if you are satisfied with the print.
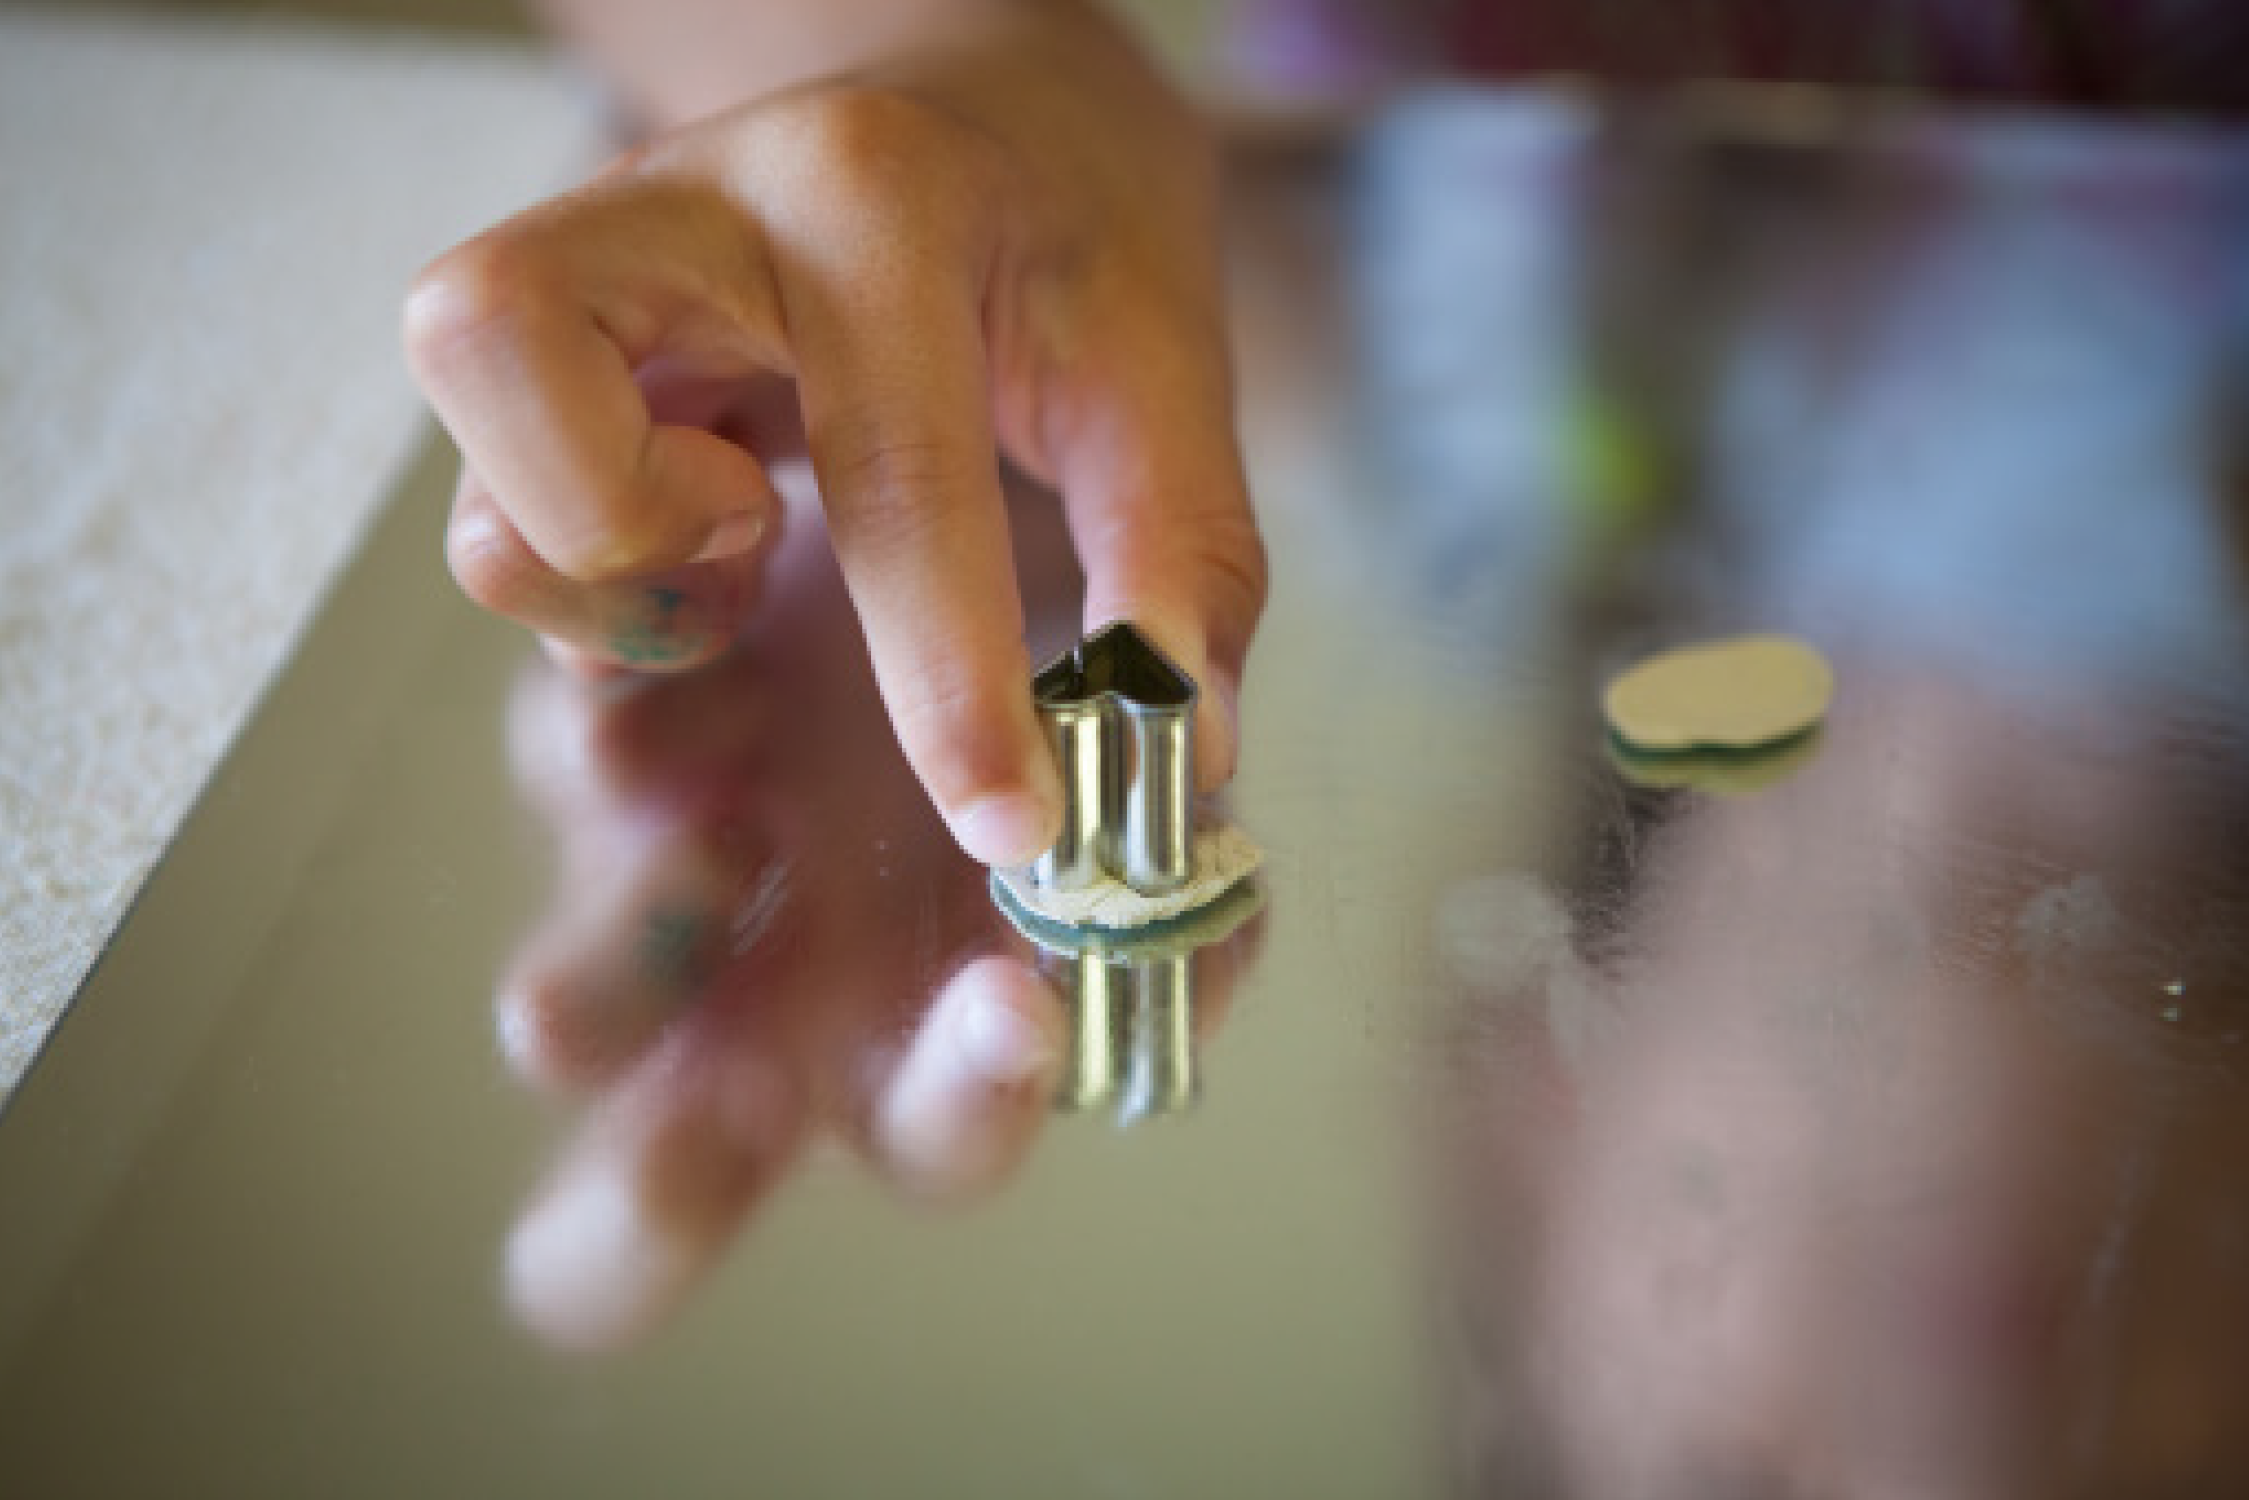
3) Use a clay cutter or knife to shape your piece. Remove the excess clay and save for another project.
4) Make a hole in your charm using a toothpick and set aside to dry overnight.
5) If needed, gently sand the edges of your piece until smooth with a fingernail file or sanding board.


6) Now it’s time to fire! Place your piece on the charcoal block. Using a butane torch, slowly circle the perimeter of your piece. You will see a smoke-like substance burn off. This is the binder in the clay. Your piece will begin to glow a faint pinky/red color. I often fire in dim lighting so I can see the color better. Continue to fire your piece for another 2 minutes.
7) Use tweezers to drop your piece in a cup of water for cooling.
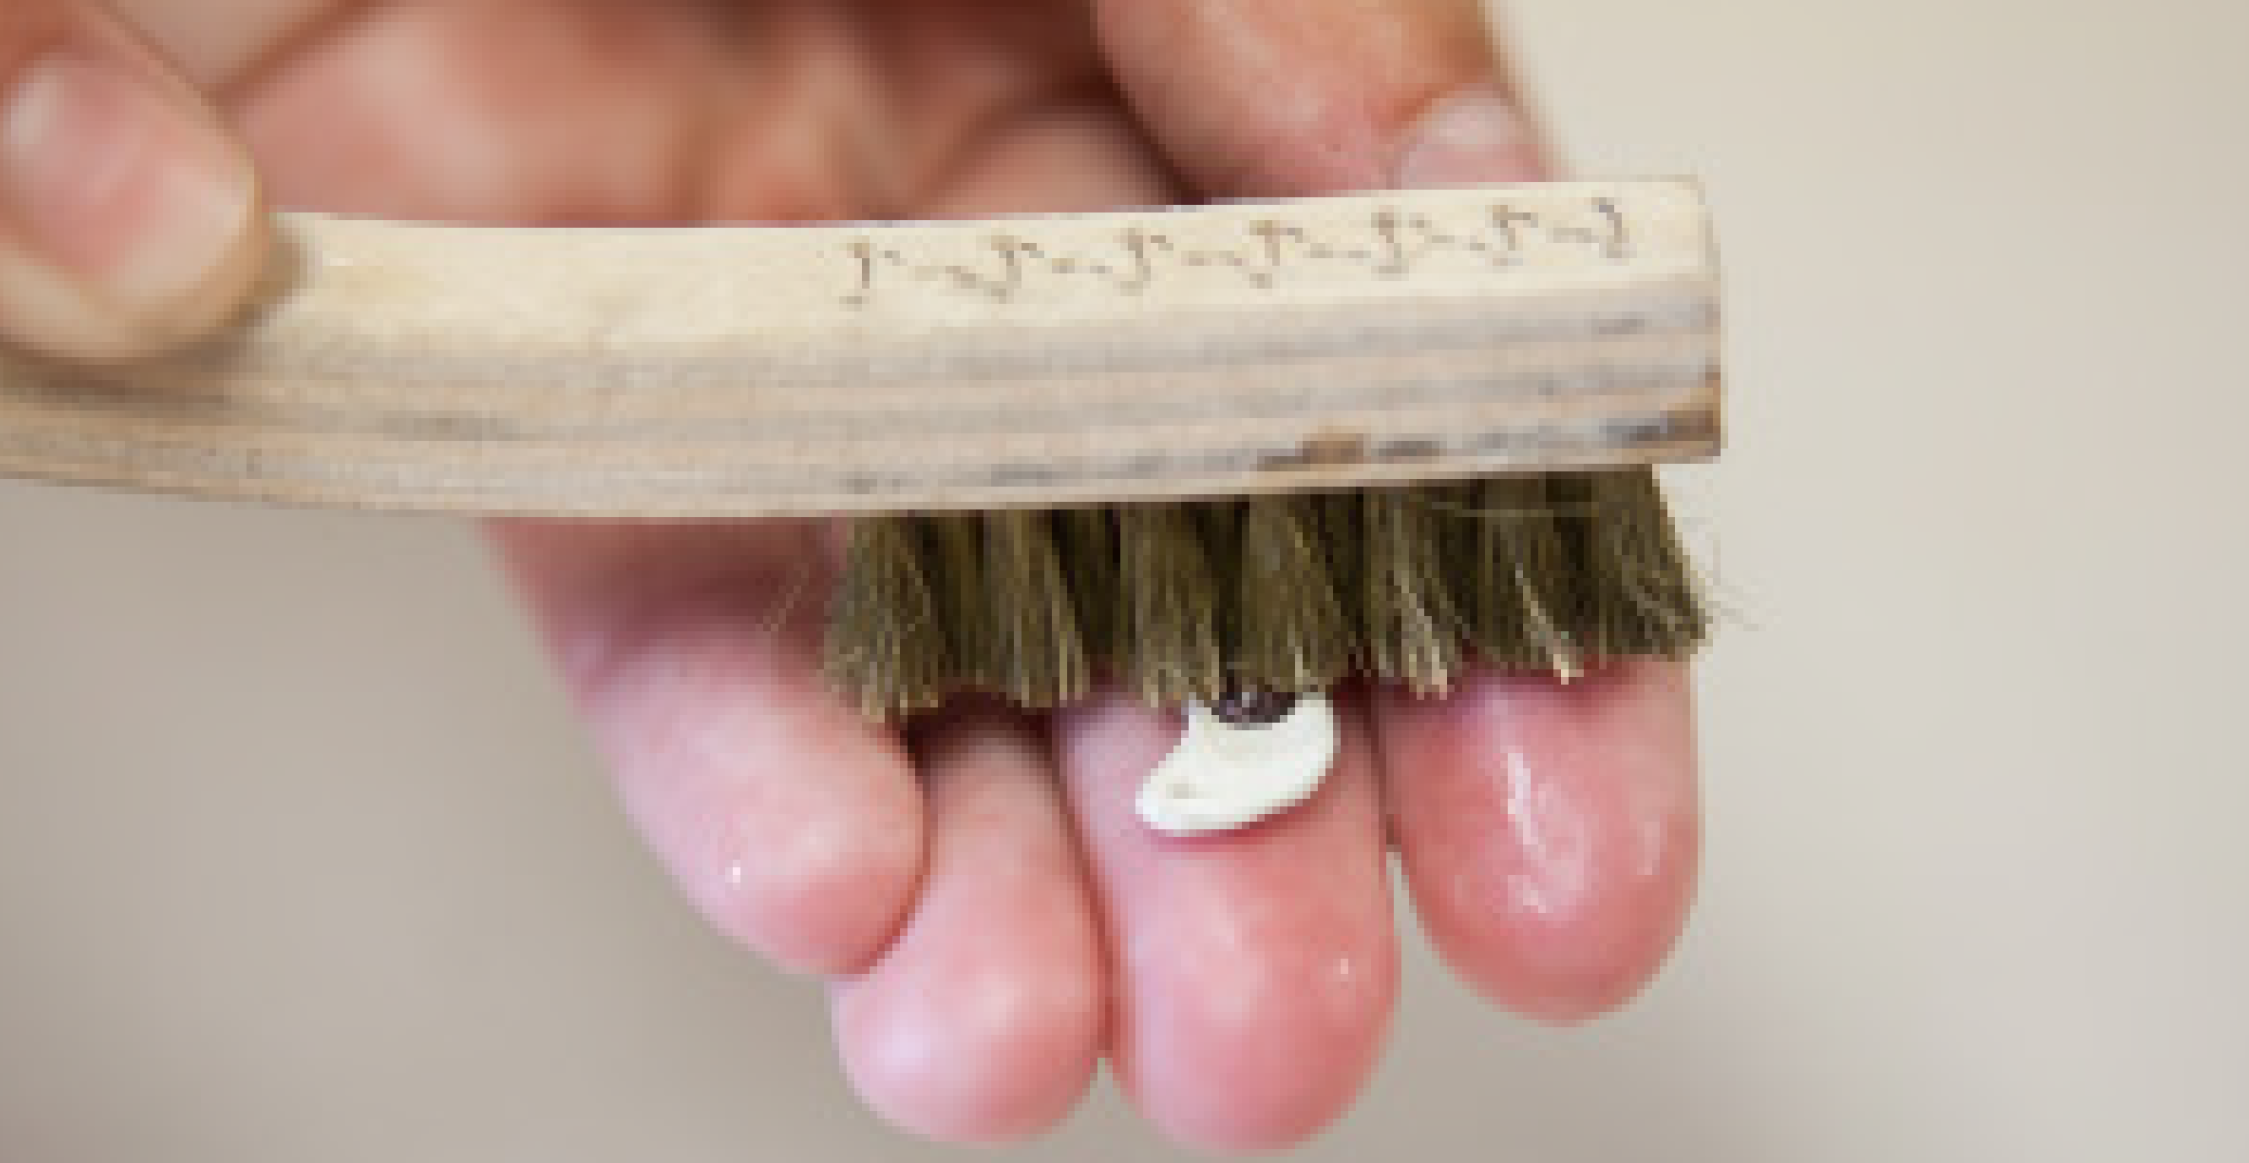
8) Gently scrub your piece with a brass brush to remove the white layer.
9) Finish it up! Make it shine with a polishing cloth, add a jump ring and put it on a chain or piece of leather.

