Paper Pumpkin Prints: A Colorful Fall Craft for Kids
By Jennifer Gentry
Painted paper collage is near and dear to my heart. I have always loved the color and texture in Eric Carle’s books. They even inspired the illustrations in my most recent book.
This fall pumpkin paper craft is a fun introduction to creating your own painted paper collage.
This easy pumpkin craft for kids uses a simple foil-printing technique to turn ordinary paper into colorful, one-of-a-kind art.
Pumpkin Craft at a Glance
Best for: Preschool and elementary-age kids
Time: About 30 minutes, plus drying time
Mess Level: Low to moderate
Adult Help: Younger artists may need help with cutting
Skills: Creativity, fine motor skills, color exploration
What You’ll Need for This Pumpkin Craft
White paper – 2 per artist
Washable markers
Aluminum foil
A spray bottle with water
Scissors
Glue
How to Make Painted Paper Pumpkin Prints
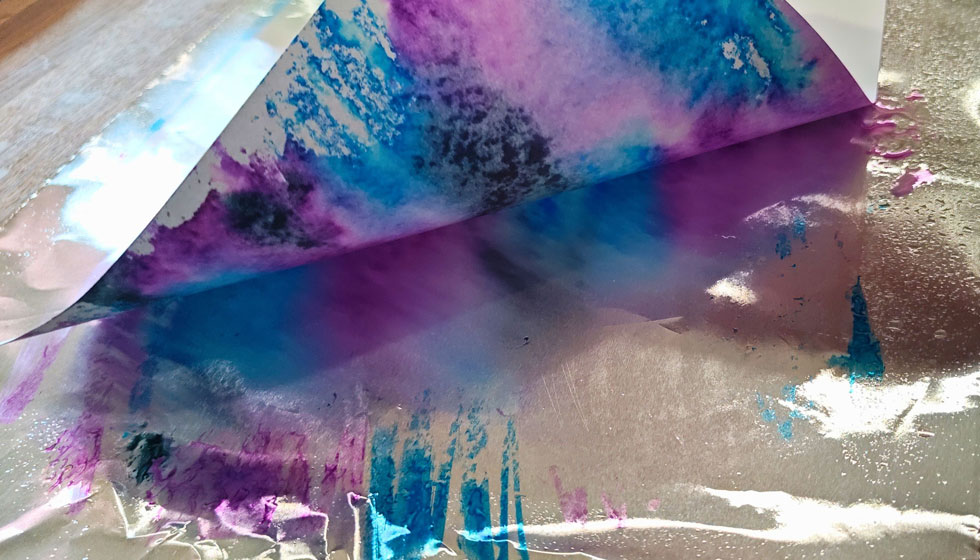
Start with a piece of foil just larger than your paper. Cover one side with colorful marker scribbles, filling as much of the foil as possible.
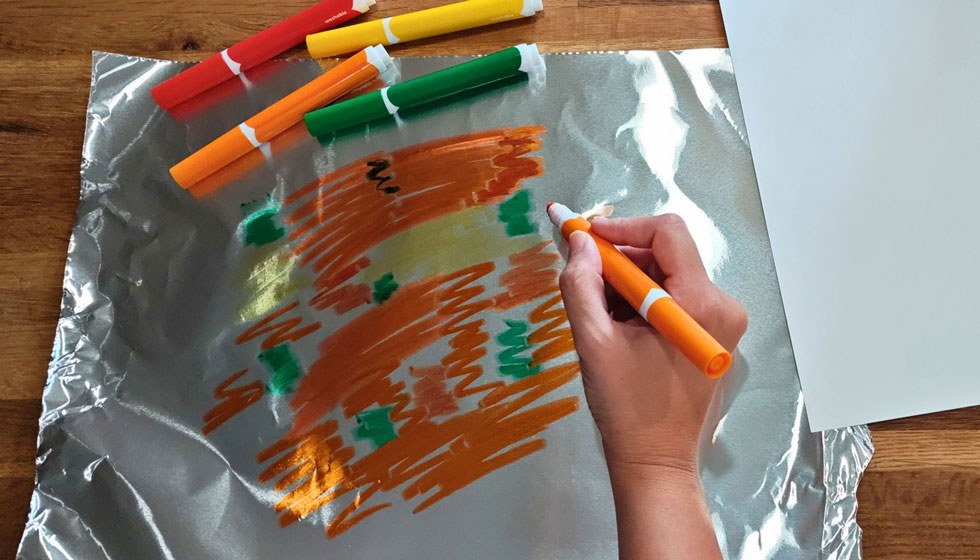
Lightly mist the foil with water.
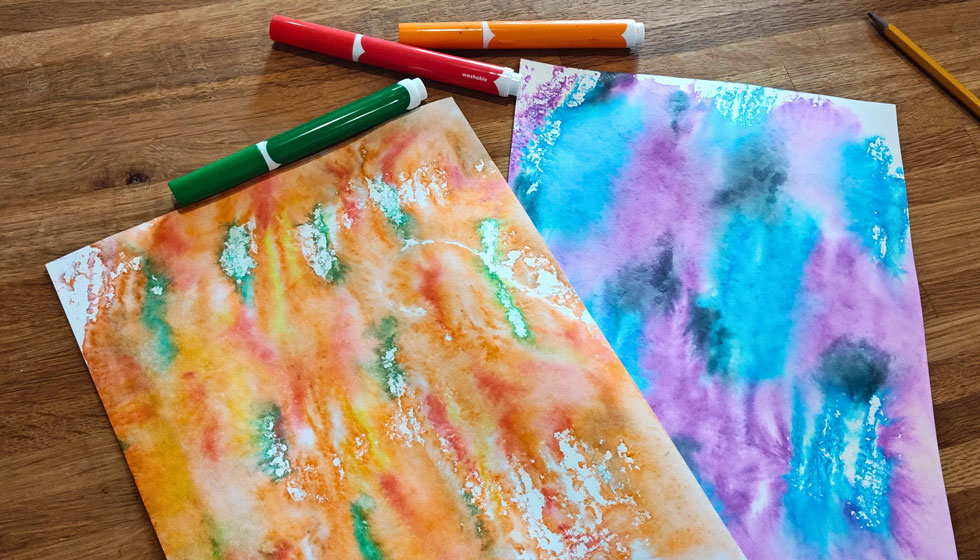
Place a sheet of paper on top and gently rub the back. Slowly lift the paper away to reveal a beautiful watercolor print. Set it aside to dry.
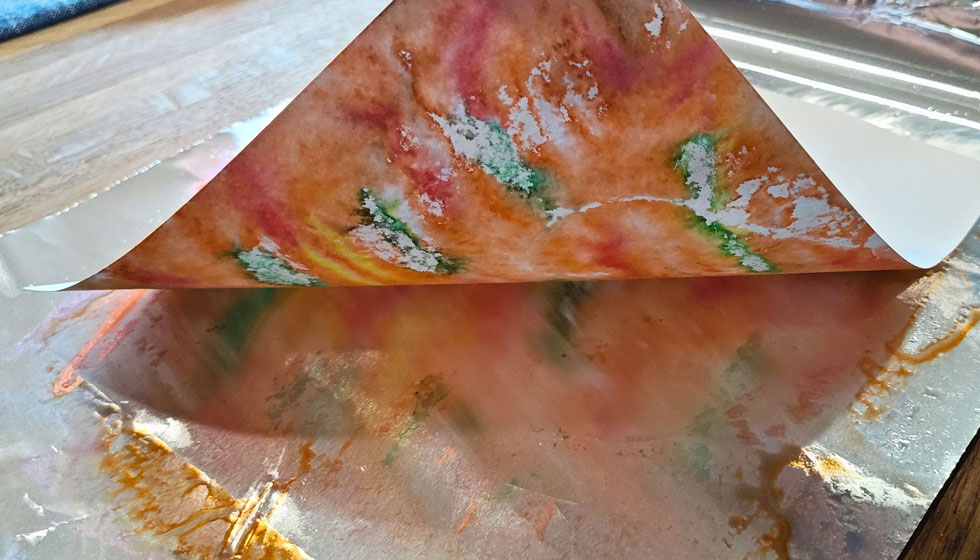
Wipe the foil clean or tear off a new sheet and repeat the process using different colors to create a second sheet of colorful painted paper. Don’t be afraid to experiment with a variety of colors for silly, spooky pumpkins.
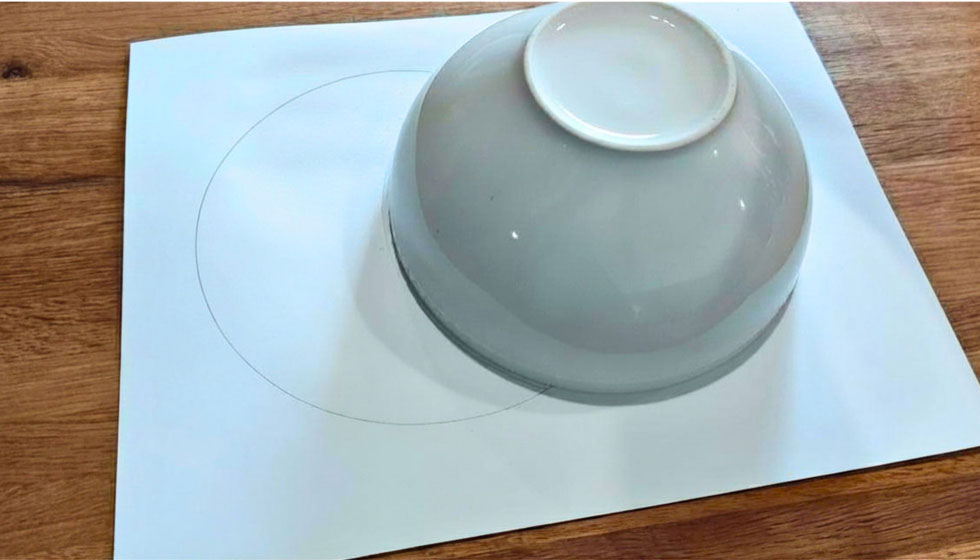
After both sheets are completely dry, draw a simple pumpkin shape on the back of one sheet and cut it out. Don’t know how to draw a pumpkin? Grab a circular object like a bowl and trace it. Then trace it a second time, slightly overlapping the first circle.
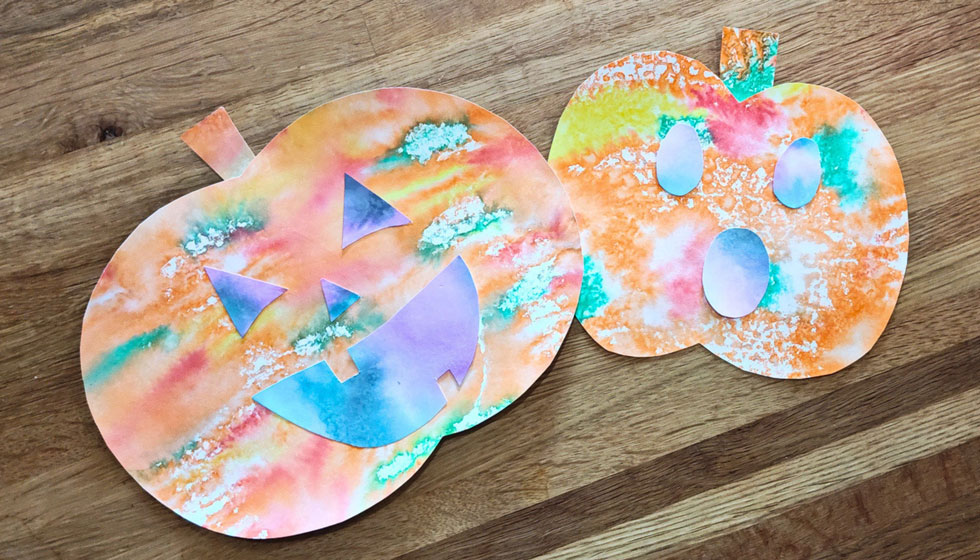
Cut only the outside border (ignore the overlapping line in the middle) to create a simple, symmetrical pumpkin shape.
Use your second sheet of painted paper to cut out a jack-o’-lantern face. Draw the eyes, nose, etc on the back of the paper and cut along your guides for a clean look.
For young artists, stick with simple shapes. Finally, glue your face pieces onto the pumpkin and enjoy your custom one-of-a-kind fall creation!